Pre-Req: Download and obtain 10.2.0.1 clusterware and 10.2.0.1 database from Technet.
- Install CVUQDISK package.
Unzip the clusterware software and cd to ./clusterware/rpm directory. Run the following commands on both nodes:
[root@raclinux1 ~] export CVUQDISK_GRP=dba
[root@raclinux1 ~] rpm –iv cvuqdisk-1.0.1-1.rpm
Preparing packages for installation…
cvuqdisk-1.0.1-1 - Clusterware Install
Change directory to/clusterware and execute:
runInstaller -ignoreSysPreReqs
Specify the inventory location and group name: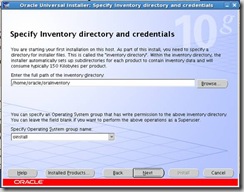
Specify the Home details: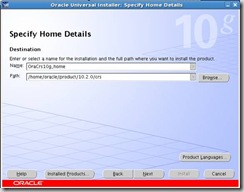
Ignore warnings on the Prerequisite checks screen below. At the time 10.2.0.1 was released Oracle Enterprise Linux didn’t exist, so the installer doesn’t view it as a supported OS.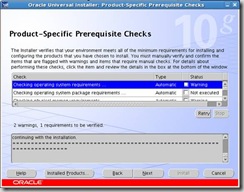
Cluster Configuration. Click on Add and fill in the information for the second node, raclinux2 as per the screenshot below: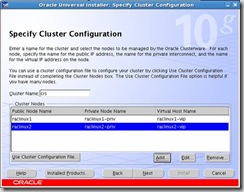
Private Interconnect Enforcement… Select eth0, click the Edit button and select public for the interface type since it is the primary network card: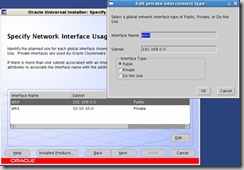
Oracle Custer Registry (OCR) location. These have been mounted as /dev/raw/raw3 and /dev/raw/raw4: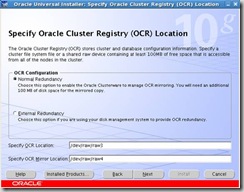
Voting Disk Locations: These have been mounted as /dev/raw/raw1, /dev/raw/raw2 and /dev/raw/raw6:
Click Install on the Summary screen: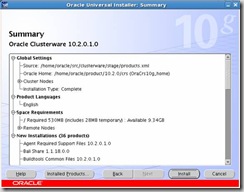
Once the install has completed you will be prompted to execute the following scripts on both nodes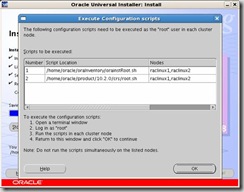
The CRS Home root.sh script executes the ocrconfig (Oracle Cluster Registry Configuration Tool) and clscfg (Cluster Configuration tool). These scripts format the voting disks, startup the software and add the daemons to the inittab (OS startup scripts).
Before executing root.sh, for both nodes, edit the vipca and srvctl files under the CRS bin directory. Search for the string LD_ASSUME_KERNEL and find the line where this variable is set. Unset the variable by placing the following on the next line:
unset LD_ASSUME_KERNEL
Set Note: 414163.1 for details.
Execute root.sh. (Note: don’t return to the runInstaller and click OK signifying the root.sh script has finished until directed to do in a few steps.) Towards the end of the root.sh on raclinux2 output you will see the following error:Error 0(Native: listNetInterfaces:[3])[Error 0(Native: listNetInterfaces:[3])]
As per the same note above, on raclinux2 execute the following from the CRS bin directory as root:
./oifcfg setif –global eth0/192.168.0.0:public
./oifcfg setif –global eth1/10.10.10.0:cluster_interconnect
From the same directory launch vipca on raclinux2: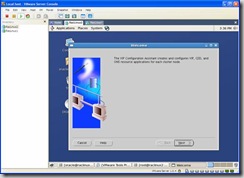
On the following screen enter the following information in the screenshot. When you put the IP Alias Name in, the IP Address column will auto populate: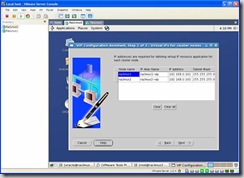
A Summary screen is show, on which you click on the Finish button: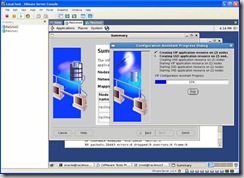
Once the config finishes you should see configuration results screen: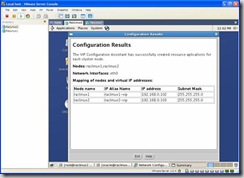
From a command window, as oracle execute crs_stat –t from the Cluster Home bin directory and you should see that all services are online: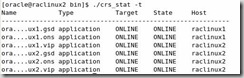
Now, go back to raclinux1 and click OK that you have finished executing root.sh on both nodes. The following screen will appear and once each of the tools successfully complete click on next: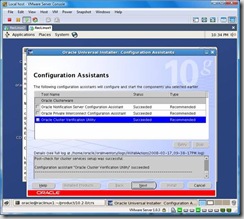
The installation is now complete and you can click on Exit: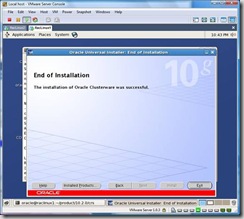
- Install ASM.
Unzip the database 10.2.0 archive and launch:
runInstaller -ignoreSysPrereqs
Select Enterprise Edition and click on next:
Change the Oracle Home name and path to reflect this is an ASM install:
The runInstaller will detect the cluster, so make sure raclinux2 is checked in the following screen: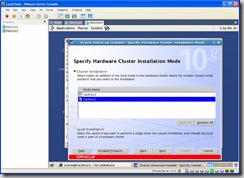
There will be some warnings in the Prerequisite check screen, these can be ignored for the same reason as the OCR install: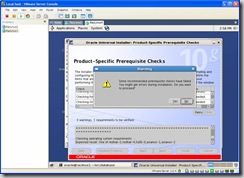
Since we are performing an ASM install, select the Configure Automatic Storage Management (ASM) option and enter a password for the sys account: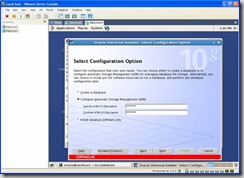
Configure ASM Storage: Since we are using ASMLib you should see the VOL1 you created earlier in the following screen. Select External Redundancy and the ORCL:VOL1 disk: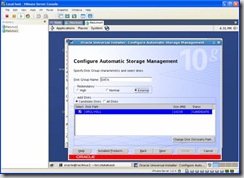
Finally, click the install button: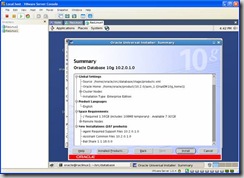
After the install you’ll be prompted to execute the root.sh scripts on both nodes. After which click on the OK button.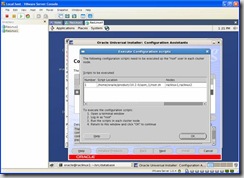
Installation is now complete and you can click on exit: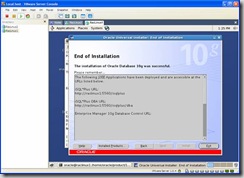
- Install Database Software. From the database software staging directory launch:
runInstaller –ignoreSysPreReqs
When prompted for Installation Type, select Enterprise edition and click on Next: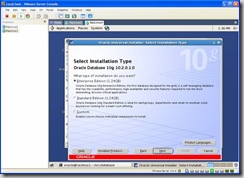
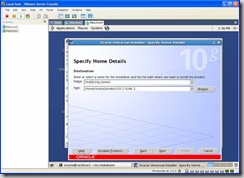
Verify Home Details:
Make sure both nodes are selected in the Cluster Installation Screen:
Ignore warnings and click on Yes then on the next button: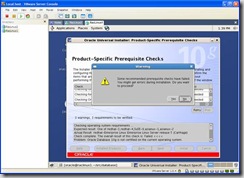
In the Select configuration Option screen select install database Software only:
Review the Summary Screen and click on Install:
Once the installation is complete you will be shown the following screen, click on Exit: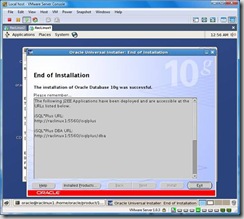
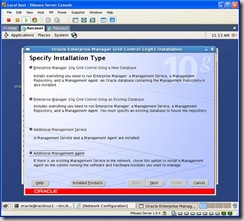
- Install agent. Note: This assumes you already have grid control or access to a Grid Control installation. If you do not, then you can skip this step and manage the environment using Database Control. Download a copy of Enterprise manager and from raclinux1 launch the runInstaller:
If you selected the Mass Agent download from OTN the only option available and preselected is “Additional Management Agent”. Click next and in the following screen modify the Parent Directory to: /home/oracle/product/10.2.0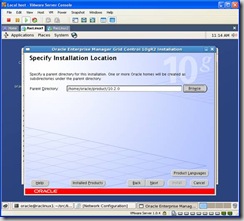
Since this is a clustered environment you will be prompted for a cluster or local install. Select cluster and verify both nodes are selected, and then click next.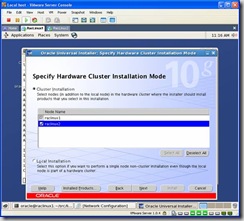
Select the location of an existing Grid Control Install: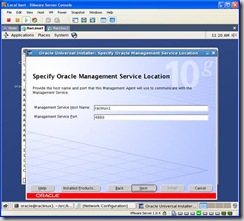
Click next and again on the next screen, ignore Oracle Configuration Manager Registration. On the last screen, review the summary and click on Install: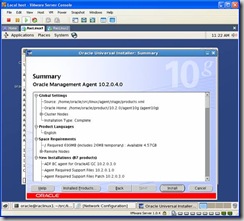
Installing: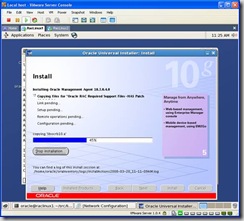
When prompted, execute the root.sh script on each node, and in the correct order: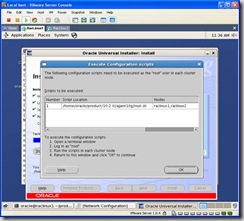
After the installation, click exit: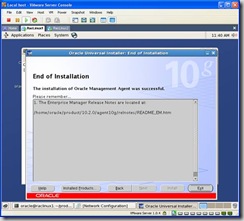
- Creating the cluster database.
Change to the $ORACLE_HOME/bin directory and launch dbca. Select the option to create an Oracle Real Application Clusters database: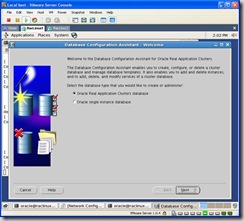
Select Create a Database: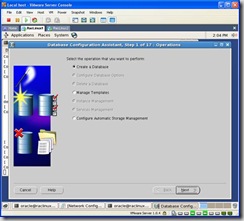
Click on the Select All button to make sure both nodes are highlighted: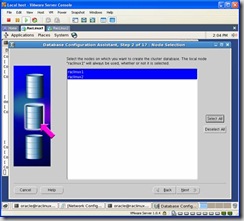
Select the general purpose template: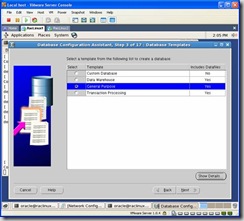
For the global database name and sid, enter RACDB: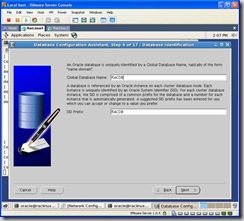
Select your grid control location in the following window. If you installed the agent earlier it will be automatically selected. If not, Use Database Control will be selected. Click next:
Choose a password: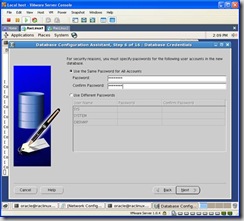
Under storage options choose ASM: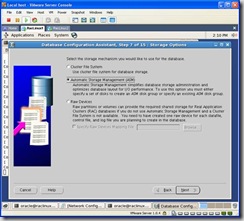
You’ll be promoted for the ASM sys password: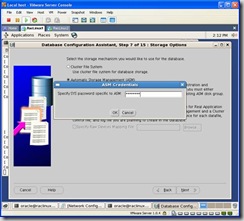
Select the DATA Disk Group: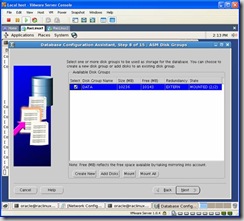
Select Oracle-Managed Files: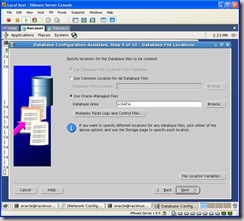
I didn’t create a second disk group for a flash back recovery area, so just click next on the following screen: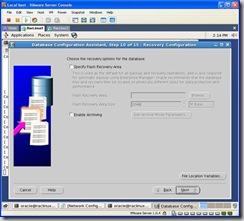
Choose the sample schemas so you have some data to play with: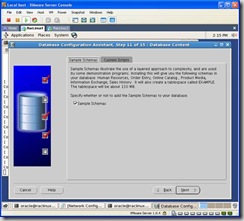
You can create services now if you’d like or later via dbca or srvctl: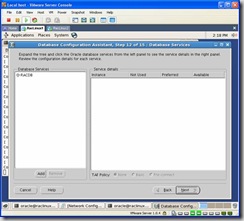
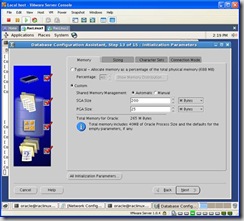
You can customize the initialization parameters to your liking. I choose a custom SGA with 200 for the SGA and 25MB for the PGA. The rest were defaults:
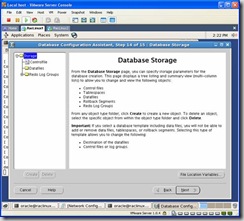
In the Database Storage window click on next:
Finally, click finish to start the creation process: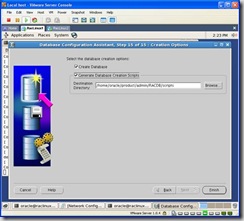
After you click the Finish button you will be prompted with a summary screen. You should review it to make sure everything looks fine then click on ok: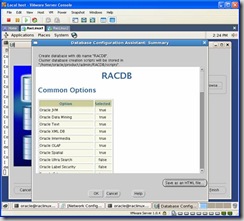
If you selected the Generate Database Creation Script option, they will be generated first. Once it completes a popup will appear letting you know it was successful. After that click OK, you will be returned to the previous screen and click finish again:
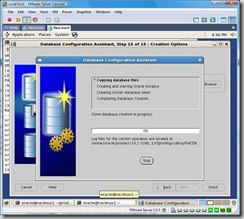
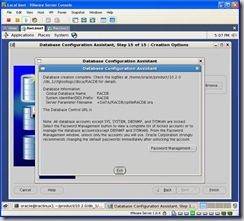
Once the install completes you will be presented with a screen similar to the one below:


1 comment:
Dude .. U Rock !!!! :)
Post a Comment